This article will help you to use Panorama efficiently from the start. Learn how to create a new panorama and how to move around the interface of the app. To get an overview of what you can do after you create a panorama, watch our 6-minute walkthrough video. It clearly shows Panorama’s core features and how to easily build a useful structure.
Learn from the start:
| Table of Contents |
|---|
Watch a walkthrough video:
| Iframe | ||||||||
|---|---|---|---|---|---|---|---|---|
|
How to create a panorama
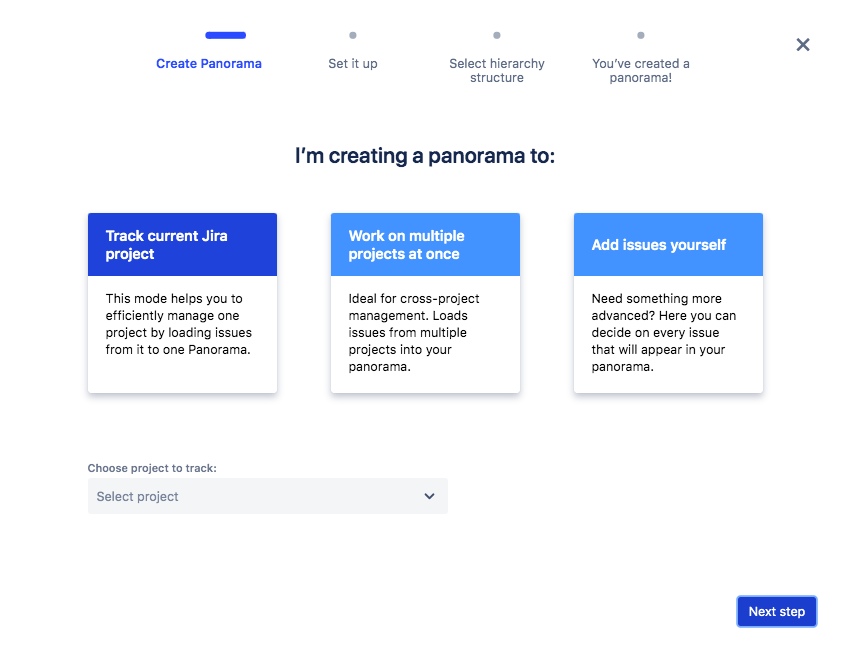
1. To create a panorama, click on the "Create new panorama" button in the right hand corner of the Panorama dashboard. You can also spot it in some other places, if you're a new user.

2. The button will launch the panorama creator. It has only 3 steps! In the first one you have to choose if you want to work on a particular project, a couple of projects or if you want to mix some issues from different projects. You can find information on each of them in the documentation.
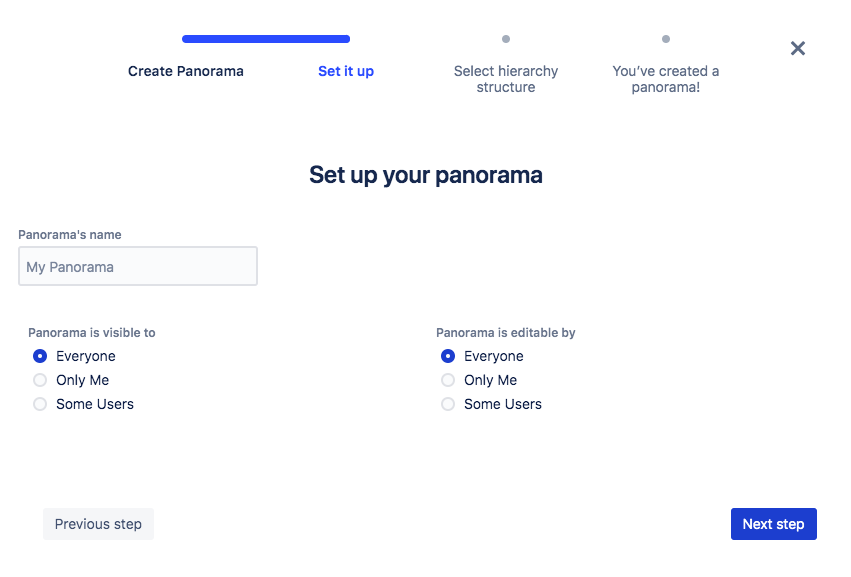
3. In the second step, you name your panorama and you set permissions for it. Decide who can see the panorama you’re creating and who can edit it. You can always change the permissions in the settings after you’ve created the panorama.
4. In the last step of the creator, you choose a hierarchy in which your issues will be displayed in your panorama. You can choose between standard Jira hierarchy and a custom hierarchy in which you can define your own dependencies between different issue types. You can read more on that here.
The third option will be possible when you have already created one or more custom hierarchies. You can choose one of them again without having to define it from the start.

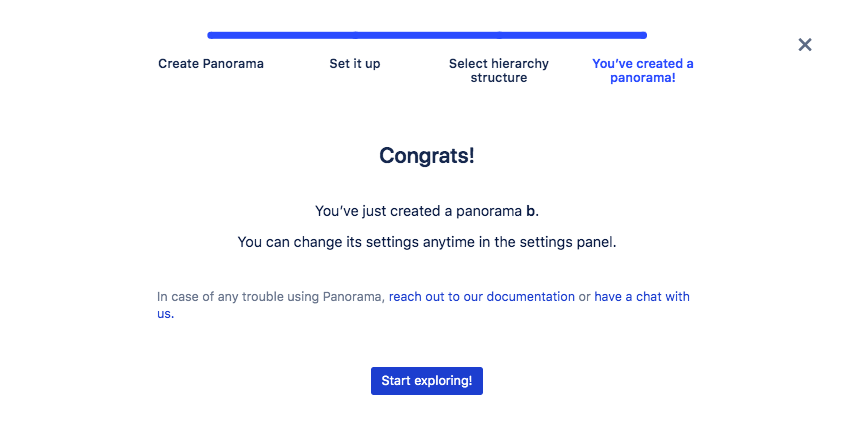
5. Your panorama is now created!
Quick guide of the interface
The dashboard
At the top of the dashboard you can see a “Quick access” panel. You can see the panoramas you’ve recently visited there.
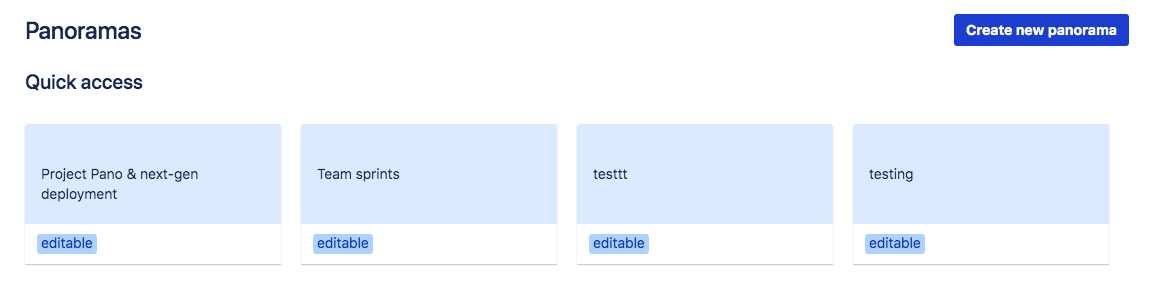
If you go to Panorama from a certain project, you will have a project-context dashboard. It means that in the list of panoramas, you’ll see the panoramas related only to this project.

If you go to Panorama from a global context, in the list of panoramas you’ll see all of the Panoramas you’ve created.
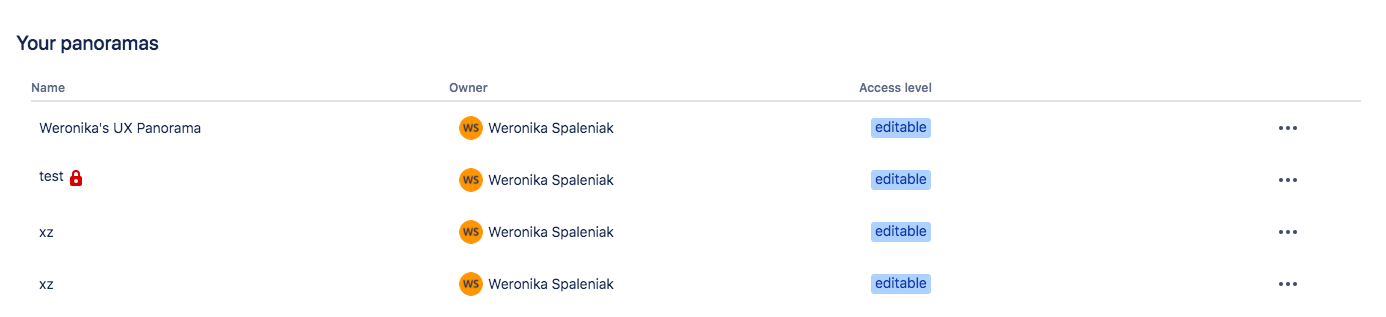
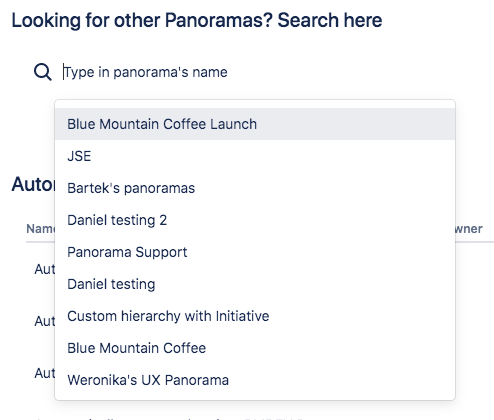
You can always access other panoramas by picking them in the selector
Panorama’s interface
The toolbar

On the top of each panorama, there is a panorama name and a locker. The locker icon opens panorama settings.
In the toolbar you can see the icons of basic actions you can perform in every panorama. You can create directories, delete nodes or folders, expand/collapse all nodes, change the column layout, show links, aggregate the issues in groups by chosen fields and change the type of tracking progress.
Issue picker panel
If you’ve just created a custom panorama, you won’t have any issues there. You’ll have to click “Add existing issues” button. Either in the center of your screen or at the top right hand corner.
It will expand the issue picker panel.
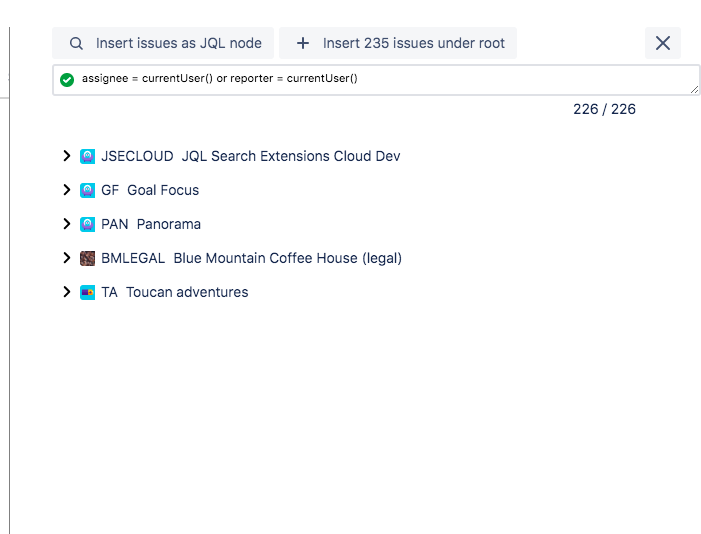
In the panel you can either search for the issues with JQL in the search field or manually. After finding the right issues, you can drag and drop them after selecting or use one of the buttons located above the search. Read more on different ways to add issues to your panorama - you’ll have all of the answers on the node types there.